Category Archives: ToolsAndTipsTuesday

The Almighty 2B

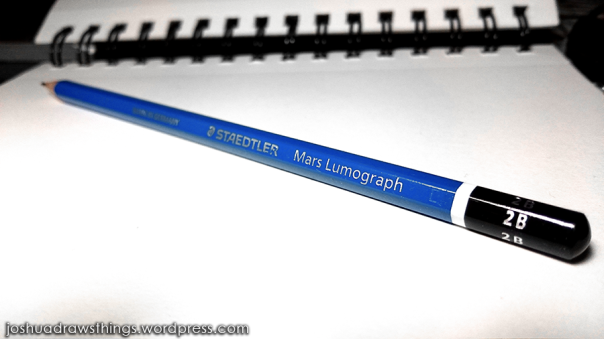
2bpencil_01For today’s Tools And Tips Tuesday, I want to show you my main drawing tool:

The 2B pencil!

If anyone is unfamiliar with the grading scales of graphite (drawing) pencils, I’ll give you the short/basic version:

H = Hardness, B = Blackness

The higher the number for H graphite pencils, the harder it is, and so the mark it will make will progressively be lighter, no matter much pressure you apply. Opposite that, the higher the number for B graphite pencils, the darker the marks will be. This means the graphite is a little more brittle and a bit more difficult to sharpen to a fine tip, but it will create great black shades with little effort. A slightly easier-to-understand explanation can be found here: Graphite Grading Scales

The 2B is my favourite one to use because it is incredibly versatile and balanced. Here’s are some brief details why:

2bpencil_02

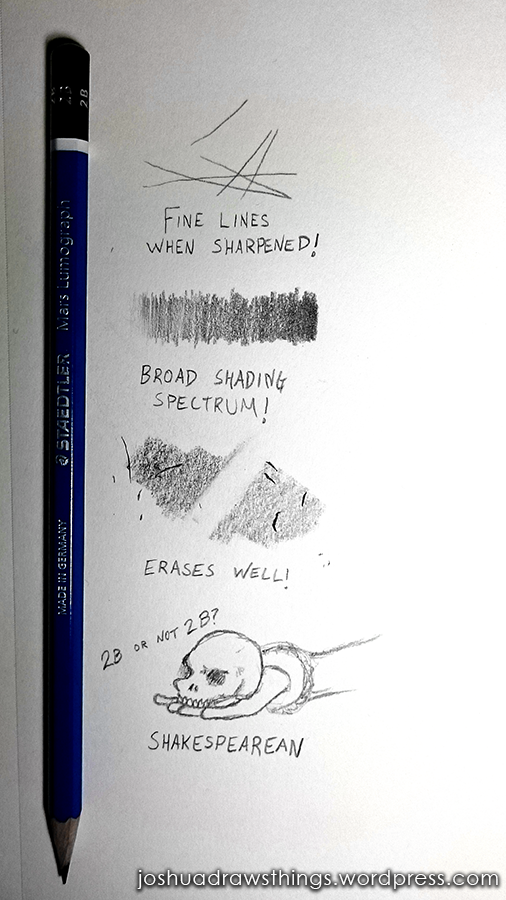
  • When sharpened, the 2B is well-capable of creating fine strokes without dulling too quickly.
  • Depending on the pressure used, 2B pencils are quite useful for creating a broad spectrum of shades, from extremely light pencil strokes to impressively dark shades.
  • Even after shading dark, 2B pencils are fairly easy to erase without leaving remnants of previous markings.
  • When asking myself which pencil to use, I get to quote Shakespeare!

I do use a whole arsenal of pencil grades for various applications, but the 2B is one I can never go without. In fact, if I’m only ever allowed to use one pencil for the rest of my life, it would be a 2B. I go through them often and quickly…
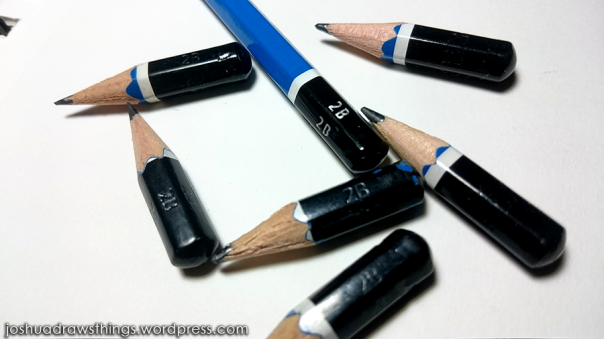
2bpencil_03Yup. Definitely my favourite.

My Drawing Comb

Welcome to another edition of Tools And Tips Tuesday! I’d like you to meet one of my favourite, and most useful, tools for drawing:

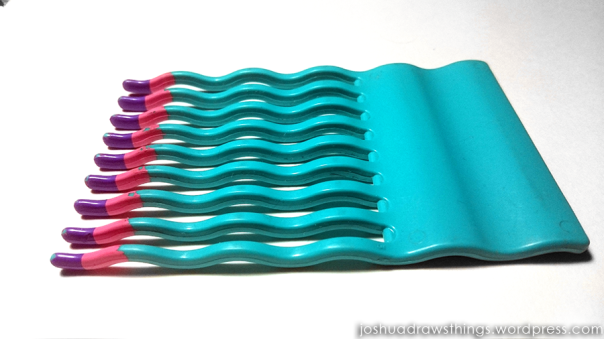
DrawingComb01Yup. It’s a comb.

Now before you start thinking I’ve lost my mind, hear me out.

This is my secret weapon against smudging my own pencil work. As someone who often leans his hand on the page he’s drawing on, I have a horrible tendency to ruin work when I start moving over the paper. This is particularly a problem when I use dark pencils with soft lead. Multiply the inconvenience by a billion when my hand becomes sweaty and warm.

I’ve tried lifting my hand instead of dragging it across the sheet, and using barriers like an extra piece of of small paper or plastic, but it seems those methods can still smudge work. I cannot help but feel terribly annoyed after lifting my hand to reveal my pencil art has be smeared. Thankfully, I came up with a remedy to that particular annoyance.

So how does it work? Let me show you!:

DrawingComb02As you can see, unlike a wide surface (like a portion of my palm) rubbing against the page, the waviness of my comb barrier allows me to rest my hand with minimal contact.

DrawingComb03Add to that the fact that it is plastic (a material that pencil marks have trouble sticking to) and made with fairly wide-spaced teeth (allowing my hand to breathe), this comb is the perfect little makeshift tool for clean(er than usual) work.

I doubt very many people have the same issue that I do while drawing, so having a comb like this seems pretty unnecessary. Of course, if you do smudge your work like I do, then maybe something similar to this would be helpful. Either way, I just would like to take this opportunity to say that sometimes, the best solutions are the most unique ones. Creativity while drawing doesn’t have to be limited to the paper!

Tidy Tabletops

I’ve decided to start a weekly thing call Tools And Tips Tuesday where I share some of the techniques and methods I use, as well as my preferred supplies and tools for doing art. I want to make sure to point out that I’m not saying you MUST use my exact methods when making art yourself, nor do I want to imply that my methods are the absolute best. These tools and tips are just what works for me and I think seeing how others take on art offers a new perspective, which can be very helpful when stuck with artist’s block.

This week’s tip is a relatively simple one:

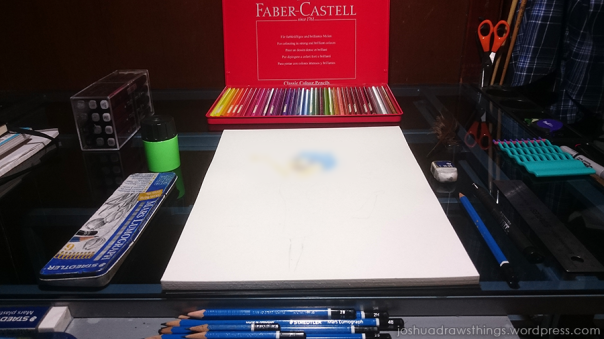
TidyDesktopStart with a tidy workspace!

I often find that I can’t properly start a new piece of art when my workspace is cluttered or untidy. I like have a clear surface and all my supplies laid out in front of me, ready to be used. Beginning something when everything around me is a mess is like entering a jungle already covered in mud and leaves. I’m bound to make a mess eventually, so I feel that having a clean start makes for better results in the end.

Now some might argue that keeping your workspace tidy throughout your whole art session would be beneficial too, but I disagree. Starting with a tidy workspace is good enough. I like when my workspace changes as my art progresses, almost organically. Even if my desk starts to become more and more messy, my supplies are still where I need them and the clutter is an assuring sign that my work must be coming along well enough to warrant the chaos on my table.

Pencil shavings, eraser bits, scattered pencils, and even a few mugs of tea getting in the way are inevitable for my desktop. Start clean and embrace the mess. It comes when the art does.

Whenever I end up doing multiple sessions, I always try to tidy my space a bit before continuing. I don’t necessarily tidy up all the way, I just like to “reset” things to where they were when I started.


You’ll notice that I slightly blurred out my current work in progress. I don’t normally like sharing incomplete work, so this one will remain a mystery for now. Some of you may be able to guess what it is though! It may or may not have to do with a film I recently saw. *laughs*